Setup a C++ Dev Env with VSCode on Windows
Background
This article is intended for newcomers to introduce the setup of a VSCode C++ development environment on Windows.
It uses VSCode, MS C++ Build Tools, and cmake.
Since many build tools on Windows still use the MS compiler by default, MS C++ Build Tools are still required. However, the full set of Visual Studio is not used because it is too heavy.
1. Install VSCode
Installing VSCode is relatively straightforward.
Download VSCode and follow the installation prompts.
2. Install Microsoft C++ Build Tools
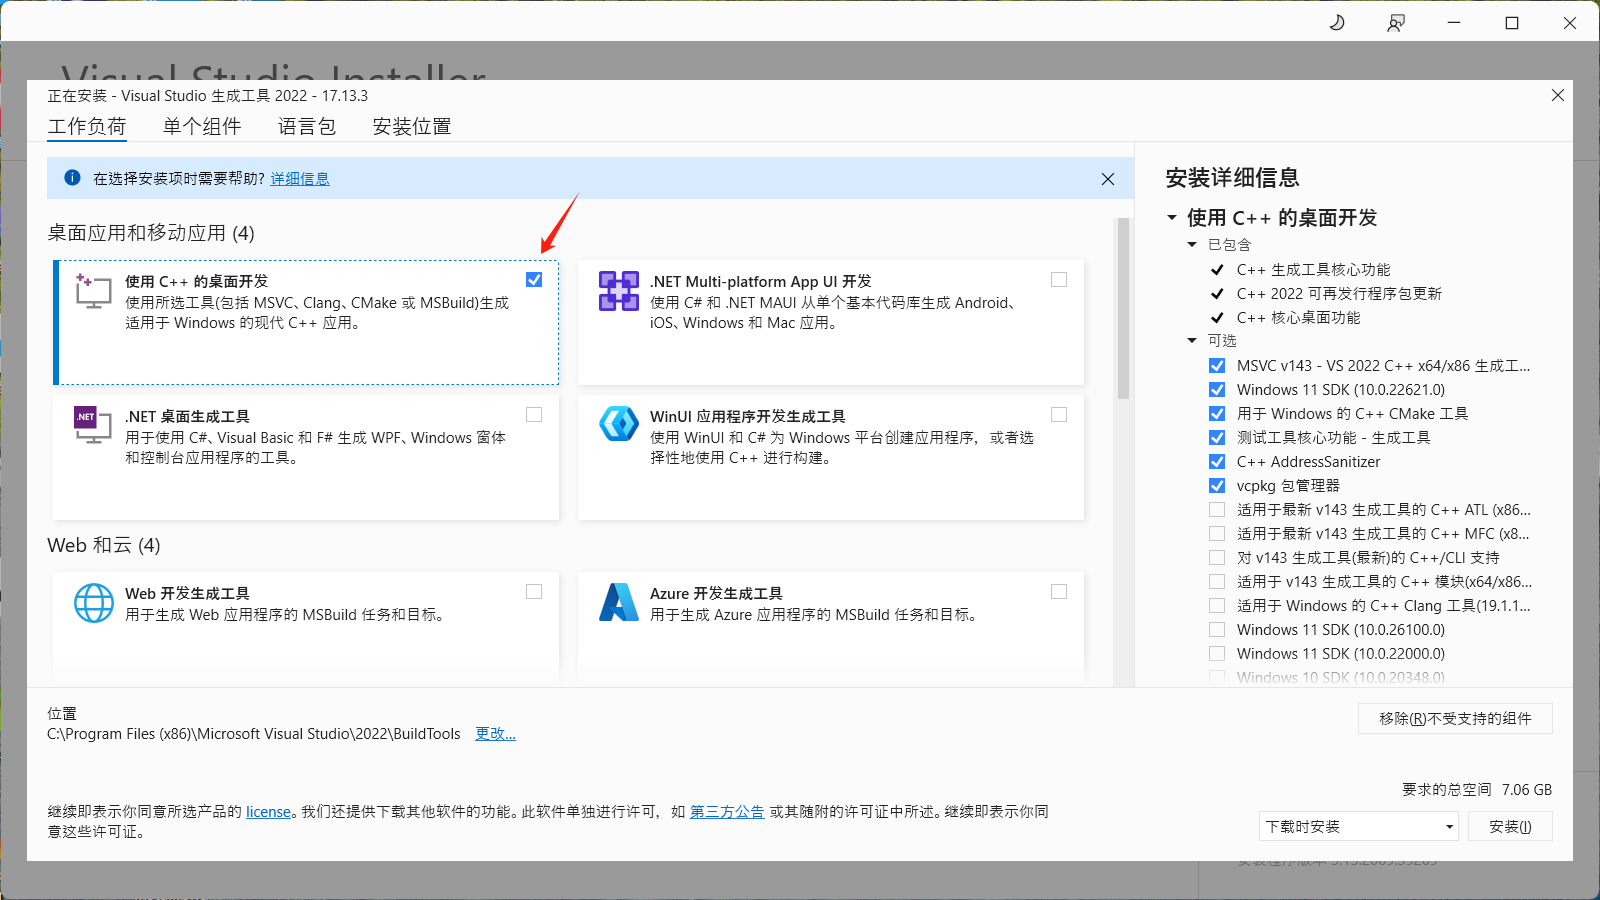
Download the installer from the Microsoft C++ Build Tools page and run it.
Since we only need a C++ environment, only check “Desktop development with C++”.

Theoretically, after installing the editor (VSCode) and the compiler (MS C++ Build Tools), you can start writing code.
However, many popular projects nowadays manage dependencies and builds through cmake:
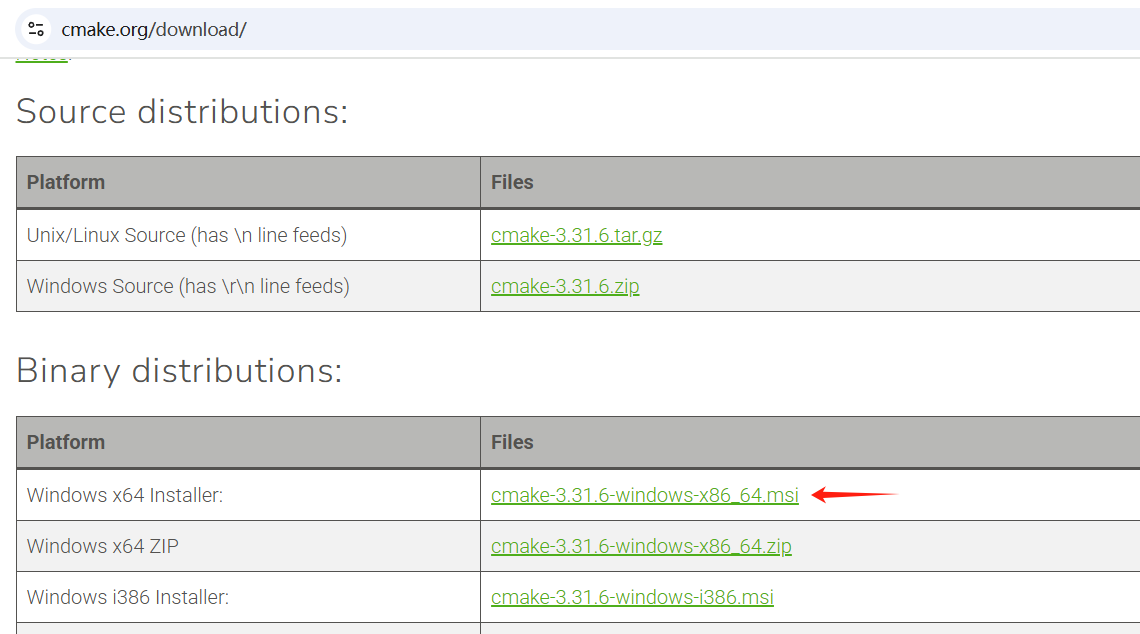
3. Install CMake
Download CMake from the official website and then follow the installation instructions.

4. Run a demo
CMake provides an official demo: Help/guide/tutorial/Step3.
P.S. You can paste the above link into download-directory.github.io to download only this directory.
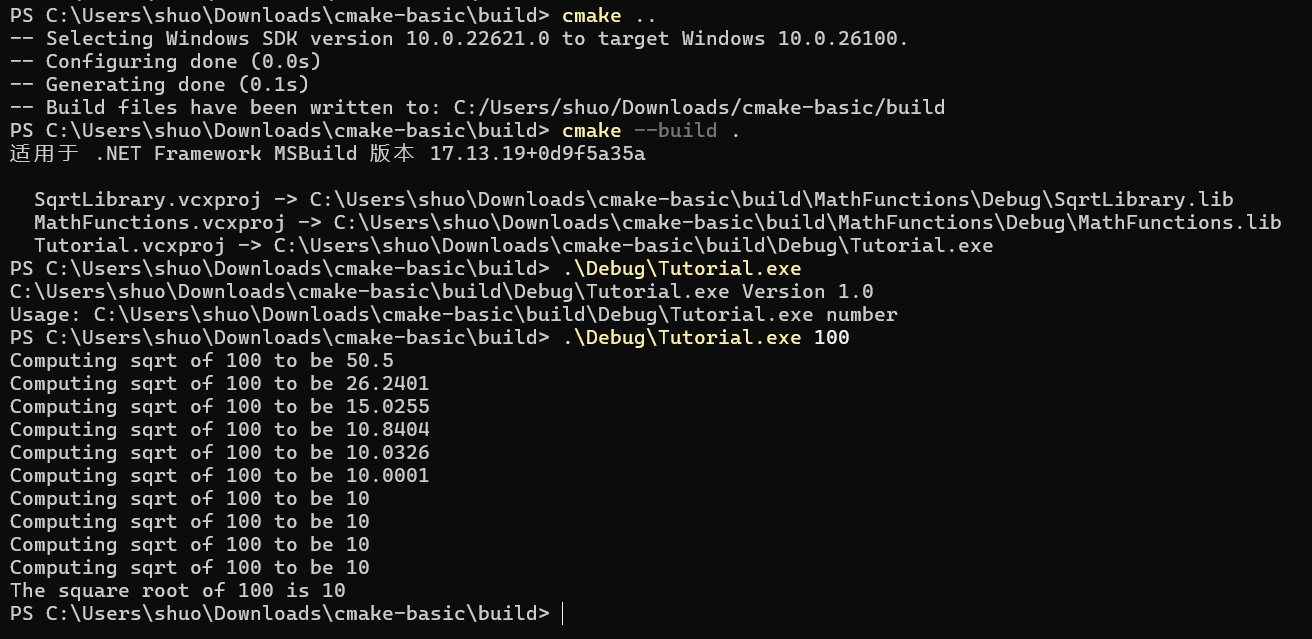
After extracting the files, we’ll run it using both the command line and VSCode:
Command-line build
1 | |

Building and Debugging in VSCode
We need to install two VSCode extensions:
The CMake Tools extension provides several commands and shortcuts.
- Build command:
CMake: Build - Debug command:
CMake: Debug
There are also shortcut buttons at the bottom left of the VSCode interface:

The Debug shortcut button is very convenient, but what if we need to pass arguments or specify environment variables?
So we still have to customize launch.json (I’ve added comments for some important parameters):
1 | |
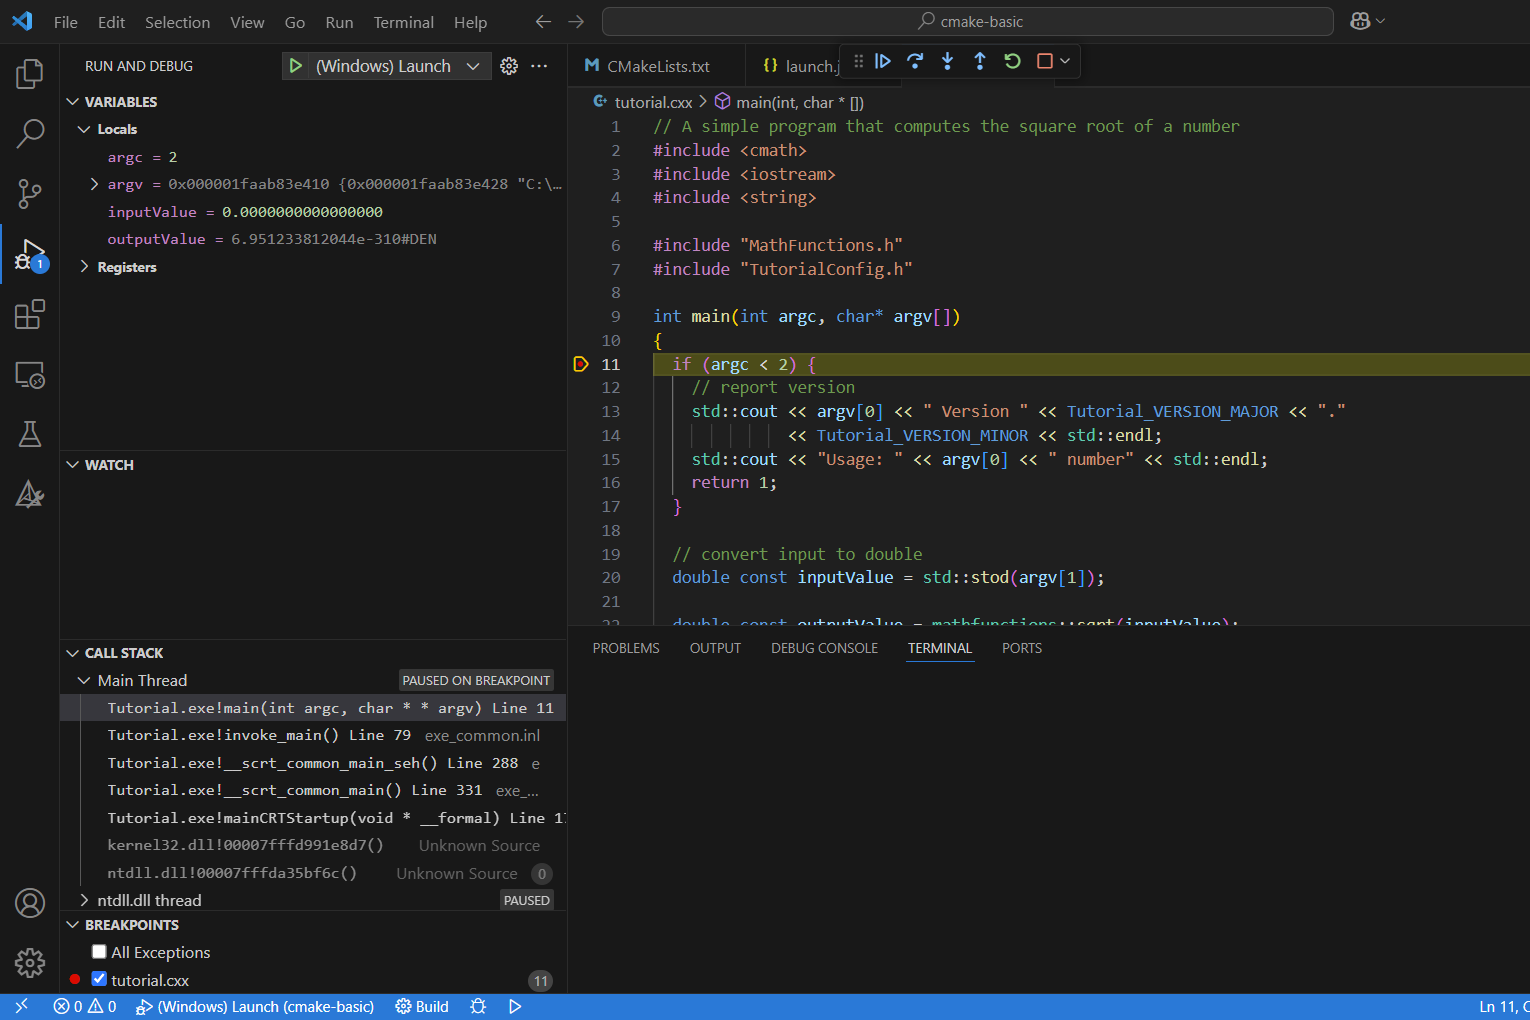
Then let’s take a look at the debugging experience, as shown in the figure:
